How to Add Zoom Effects to a Screen Recording on Mac
A screen recording is hard to follow when everything is small. Here is how to add zoom effects to a screen recording on Mac: automatic zooms in Shotbase, zooms you place yourself in other recorders, and a free manual method with iMovie's Ken Burns effect, plus habits that make every zoom look good.
· 8 min read
Key takeaways
- The macOS recorder (Shift + Command + 5) captures the screen as it is. It has no zoom effects, so zooms come from an editor or a recorder that adds them.
- Shotbase adds automatic zooms while you record, then lets you review them on the timeline in the motion editor.
- Auto zoom works best when you move the pointer on purpose, click, and pause for a moment before moving on.
- For a free manual zoom, iMovie's Ken Burns effect animates between a Start and an End crop on each clip.
- Zoom less than you think. Only zoom in on things viewers could not read at full size.
Short answer: the easiest way to add zoom effects to a screen recording on Mac is to record with an app that adds them for you. In Shotbase (our app), automatic zooms bring the important moments closer, and you open the recording in the motion editor to review them. If you would rather not install anything, you can zoom by hand with the Ken Burns effect in iMovie, but it takes more steps and you repeat them for every zoom.
This guide covers all three options, then shows how to make zooms look smooth instead of busy. Third-party details come from Apple's and Screen Studio's own documentation, checked in November 2026.
What is a zoom effect in a screen recording?
A zoom effect is a camera move inside your video. The frame pushes in on one part of the screen, such as a button, a line of code or a menu, and then eases back out. It solves a simple problem: a full screen recording on a large display makes everything small, and viewers on a laptop or phone cannot read what you are pointing at.
There are three common kinds:
Automatic zoom: the app watches what you do while you record and adds zooms for you.
Manual zoom: you choose where to zoom and for how long, usually on a timeline.
Pan and zoom over a clip: a slow push in or pull out across a whole shot. This is the classic Ken Burns effect.
Most good demos use the first kind for speed and a few of the second kind for the moments that matter most.
Does macOS add zoom effects to screen recordings?
No. The built-in Screenshot toolbar, which you open with Shift + Command + 5, records the entire screen, a window or a portion of it. According to Apple's guide, its options cover things like a timer, the microphone, showing the pointer or clicks, and where to save the file. After recording, the floating thumbnail lets you trim the clip and share it, and the file is saved as a .mov. Zoom effects are not on that list, so you need an editor or a different recorder.
If you only need a quick trim and share, the built-in tool is fine. If you want zooms, read on.
Method 1: automatic zooms in Shotbase
Shotbase records your screen and then follows the action, so automatic zooms bring important moments closer without you setting keyframes. The same editor also adds 3D transforms, text effects, backgrounds and shadows, so you can finish the video in one place.
Here is the workflow:
Prepare the window. Close notifications, hide anything private and size the window you will demo. A smaller window gives viewers a bigger picture from the start.
Start a recording in Shotbase. Open Shotbase and record your screen. If you want a face in the corner, you can add your camera as well.
Demo at a calm pace. Move the pointer to the thing you are about to use, click, and pause for a second before the next move. Automatic zoom follows what you do, so clear actions give clear zooms.
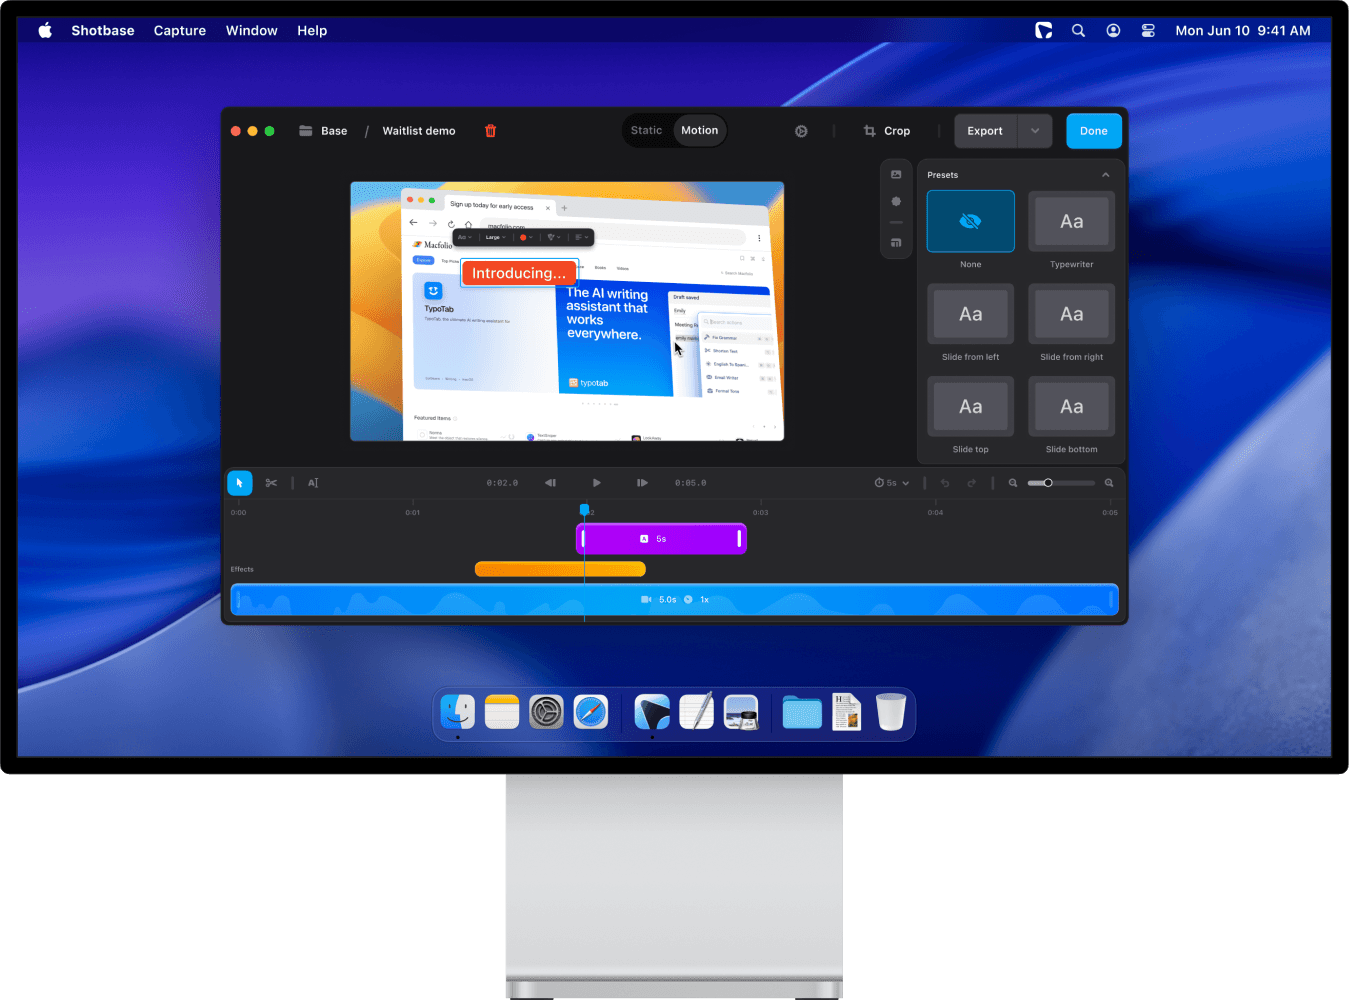
Stop and open the recording in the editor. Switch to Motion mode, the one used for recordings (the other mode, Static, is for screenshots).
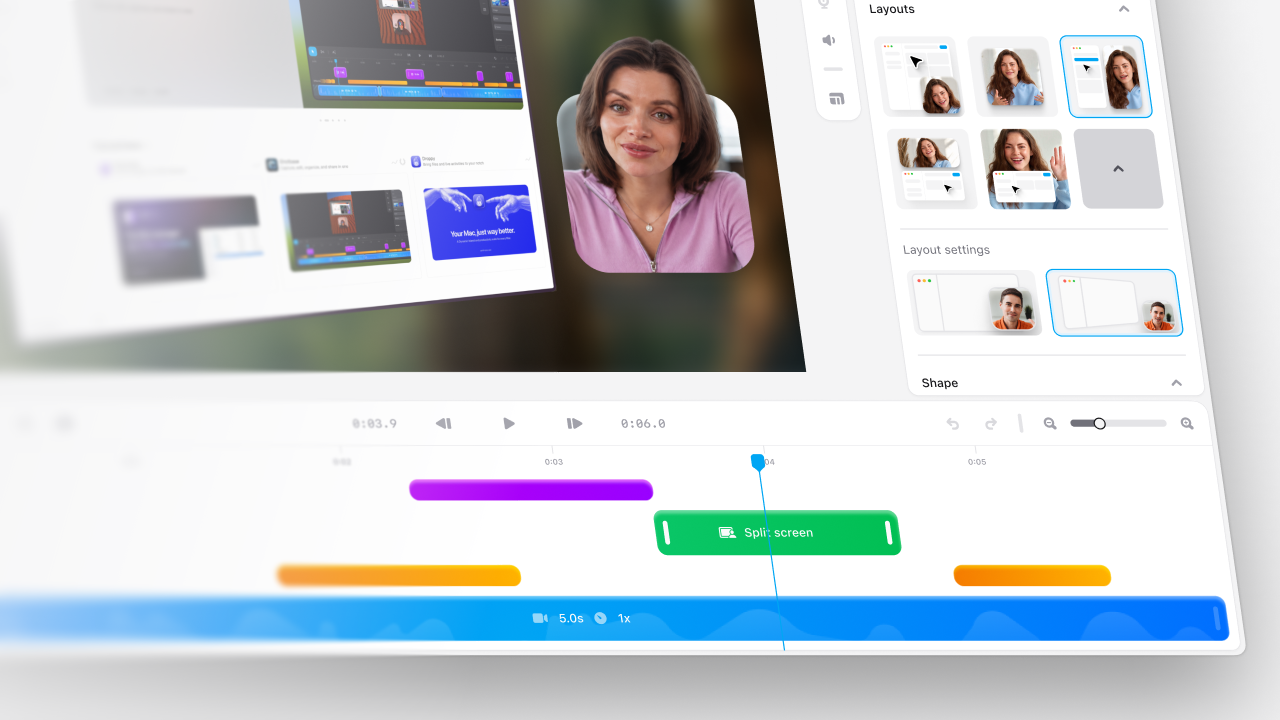
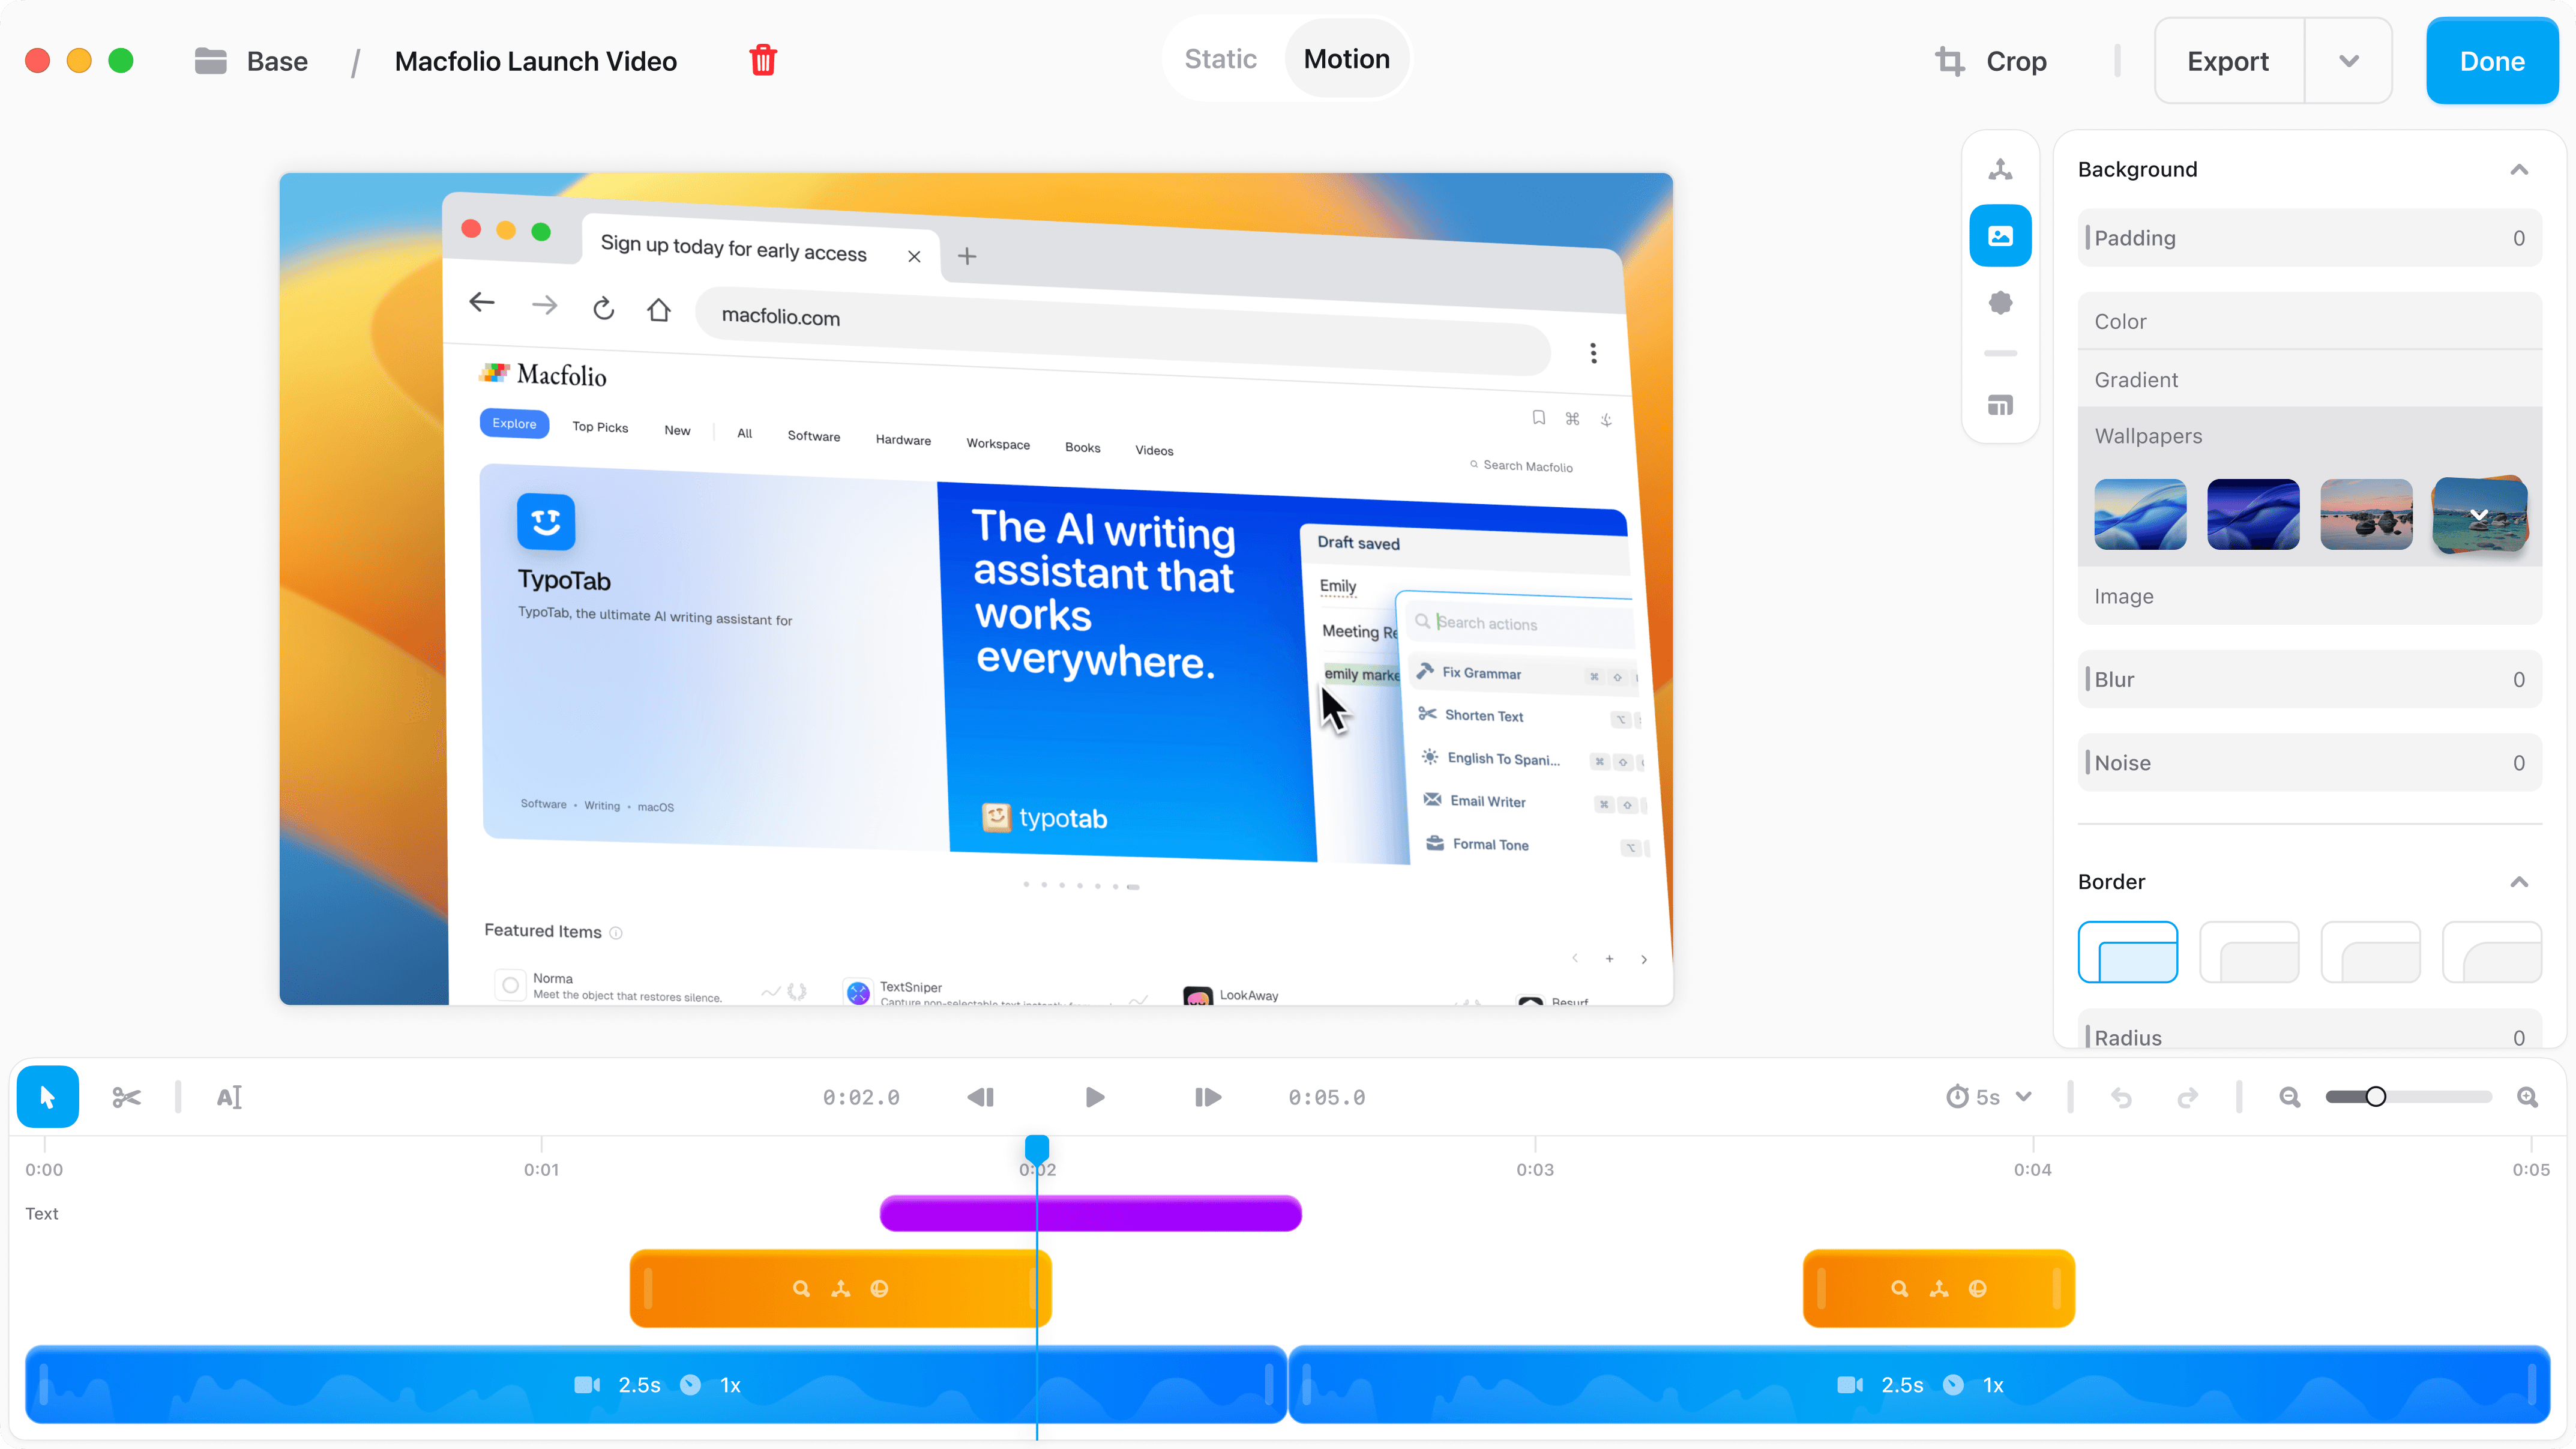
Review the zooms on the timeline. Zooms sit on the timeline under the preview, next to your clips. In the screenshot below, the orange segments carry a magnifier icon for zoom, alongside icons for other motion effects. Play the recording back and check each one.
Add polish. Add a background, a text effect or a 3D move, then export.
Recent Shotbase releases improved how zooms behave, according to the changelog:
Automatic zooms respond to shorter pauses (version 1.6.0), so quick demos still get zooms.
Zooms stay aligned when you change the frame ratio (1.6.0), which helps when you export a wide version and a vertical one from the same recording.
Zooms include the complete styled capture card (1.7.0), so the zoom frames your recording together with its background and styling.
Stopping a recording no longer adds an unintended auto zoom (1.5.0).
Selected timeline effects can be cut at the playhead (1.5.0).
Price: Shotbase has a 7-day free trial with no card required. Pro is $13 a month billed yearly ($156 a year) or $25 month to month. After the trial you can still capture, view, edit and organize, but exporting new work needs Pro.
For a side-by-side look at recorders that add zooms automatically, see our guide to the best screen recorders with automatic zoom for Mac.
Method 2: zooms you place yourself in a recorder
Some recorders let you add and move zooms yourself on a timeline. Screen Studio is a good example, and its documentation explains the model well:
By default, zooms are created automatically from your clicks during the recording.
Each zoom shows as a block on a zoom timeline in the editor. Click the timeline to add a zoom, and drag a zoom's edges to change its length.
A zoom can be auto (it zooms to your clicks) or manual (you select the area to zoom). If you add an auto zoom where you never clicked, it will not zoom to any area, so you switch it to manual and pick the area.
To remove a zoom, right-click it and choose Disable or Remove.
The idea carries over to any recorder with this model: let the app place the zooms, then fix the few that are wrong. Screen Studio's price at the time of writing is covered in our comparison.
Method 3: zoom by hand with iMovie's Ken Burns effect
iMovie is free on Mac and can fake a zoom with the Ken Burns effect. It was designed for photos and clips, so it works per clip rather than per click, but it does the job when you only need one or two zooms.
According to Apple's iMovie guide, here is how it works:
Select a clip or photo in the timeline.
Click the Cropping button to show the cropping controls.
Click Ken Burns. Two frames, Start and End, appear over the clip in the viewer.
Select the Start frame and drag and resize it to frame how the shot begins.
Select the End frame and drag and resize it to frame how the shot ends. A smaller End frame makes the video appear to zoom in. A larger one makes it zoom out.
Click Apply.
To reverse the movement, use the Swap Start and End Areas button. To remove the effect, click Fit.
Because Ken Burns applies to one clip, you split your recording into several clips if you want several zooms, and you set the Start and End frames for each. That makes it slow for a long demo, but it costs nothing and it gives you full control.
Which method should you use?
| Method | How zooms are added | Effort | Best for |
|---|---|---|---|
| Shotbase | Automatic while you record, reviewed on the editor timeline | Low | Demos, tutorials and walkthroughs you make often |
| Recorder with click and manual zooms (for example Screen Studio) | Automatic from clicks, plus zooms you add or drag on a timeline | Low to medium | Video only workflows |
| iMovie Ken Burns | By hand, one Start and End crop per clip | High | One or two zooms, no extra app |
| macOS built-in recorder | Not available | Not applicable | Quick recordings with no editing |
If you record demos regularly, choose an app that adds zooms for you. If you record once in a while and are happy to spend ten minutes, iMovie works.
How to make zoom effects look good
Whatever tool you use, these habits matter more than any setting.
Zoom for a reason. Zoom when viewers need to read something small or see where you clicked. If the text is already readable, a zoom just adds motion.
Move the pointer on purpose. Auto zoom follows your actions. Slow, deliberate movement gives smooth zooms, and random wandering gives jumpy ones.
Pause after a click. One second gives the zoom time to land before the next action starts.
Keep zooms short and spaced out. A zoom that is constantly moving is harder to follow than a still frame. Delete the ones that do not help.
Plan for the smallest screen. Many viewers watch on a phone. If your video will play there, zoom in a little more and use larger text on screen.
Review every zoom before you export. Automatic zooms are a strong first draft, not a final cut. Playing the video back once takes less time than it takes viewers to be confused.
Export for where it will live. Export a wide version for a website or docs, and a vertical one for social feeds. Zooms that stay aligned across frame ratios save you from editing twice.
Add zooms without losing your screenshots
If you also take screenshots every day, an app that does both avoids a second tool. Shotbase keeps recordings, screenshots and webpage captures in one library, names and tags them with on-device AI, and lets you search the text inside screenshots. If you document software, you may also like our guide to taking a scrolling screenshot on Mac, which works in any app.
Frequently asked questions
How do I add a zoom effect to a screen recording on Mac?
Record with an app that adds zooms automatically, such as Shotbase, and review them in the editor. Or record with the built-in tool and add zooms in iMovie with the Ken Burns effect.
Can I add zoom effects after I record?
Yes. Zooms are added in an editor after recording. In Shotbase, they appear on the timeline in the motion editor, where you review them before exporting.
What is the difference between automatic and manual zoom?
Automatic zoom is placed by the app from what you did while recording, such as where you clicked. Manual zoom is a zoom you place and aim yourself. Screen Studio, for example, supports both, and you choose per zoom.
Do zoom effects work in vertical or square exports?
In Shotbase, zooms stay aligned when you change the frame ratio, so you can export a wide and a vertical version from one recording.
Is there a free way to zoom in on a screen recording on Mac?
Yes. iMovie is free on Mac and includes the Ken Burns effect, which animates between a Start and End crop on a clip. Shotbase also has a 7-day free trial with no card required.
Does Shotbase upload my recordings?
No, not automatically. Screenshots, recordings and project files stay on your Mac by default. Shotbase only uploads a capture when you choose to create a share link or use another cloud feature.