How to Make a Product Demo Video on Mac, Step by Step
You can make a product demo video on your Mac without a video team. Here is the full workflow: plan the story, prepare your screen, record, then edit with zooms, captions, camera layouts and clean audio, and share a link people can open in a browser. Built around Shotbase, with free built-in options too.
· 8 min read
Key takeaways
- A good demo follows one story: the problem, two or three key moments, the result and a clear next step.
- You can record with the built-in Screenshot toolbar (Shift + Command + 5), but an app like Shotbase adds zooms, camera layouts, captions and cleaner audio.
- Edit for attention: trim dead air, add automatic zooms, and use captions so the video works with the sound off.
- Share a link instead of a large file. Shotbase share links open in any browser and support comments pinned to a moment in the video.
- Keep the video as short as the story allows, and review the whole thing once before you share.
Short answer: plan a short story, set up a clean screen, record it in one calm take, then edit for attention with zooms, captions and clean audio, and share it as a link. On a Mac you can record for free with the built-in Screenshot toolbar (Shift + Command + 5). If you want zooms, camera layouts, captions and editing in the same place, an app like Shotbase (our app) handles the whole workflow, from recording to a shareable link.
This guide walks through each step. Facts about Shotbase come from its website and changelog, and facts about macOS come from Apple's guide, checked in November 2026.
What is a product demo video?
A product demo video shows your product doing something useful, usually on screen, with a voice or text explaining what is happening. It is different from a promo video. A promo tells people why they should care. A demo proves it by showing the product at work.
Teams use demo videos on landing pages, in onboarding emails, in help docs, in sales follow-ups and on social feeds. The same recording can serve all of them if you plan it well and export it in the right shapes.
Step 1: plan the demo before you press record
Most weak demos fail before the recording starts. A short plan fixes that.
Pick one audience and one job. "Show a new user how to share a capture" beats "show everything the app does."
Write a three part outline: the problem the viewer has, the two or three moments where your product solves it, and the result with a next step.
Write a short script. Even a few bullet points per moment help. You do not need to read word for word, but you should know the first sentence of each moment.
List the exact clicks. Open the screen you will demo and walk through it once without recording. Note where you will click, what you will type and what the result looks like.
Use realistic sample data. Replace test names and empty states with believable content, and remove anything private.
A good rule for scope: if a moment does not help the viewer do the one job, cut it. You can always make a second video.
Step 2: prepare your Mac
A few minutes of setup makes the recording look intentional.
Close notifications. Turn on a Focus mode so messages do not pop up mid recording.
Clean the desktop and the menu bar. Hide files, icons and tabs you do not want viewers to see.
Size the window. A smaller app window zooms in on what matters and stays readable on a phone. Set it before you record rather than fixing it later.
Check your microphone. Record ten seconds and listen back. Quiet room, microphone close, no fan noise.
Decide on a camera. A face in the corner makes a demo feel personal, but it is optional. Many strong demos are screen and voice only.
Step 3: record the demo
You have two good options on a Mac.
The built-in recorder. Press Shift + Command + 5 to open the Screenshot toolbar, choose to record the entire screen or a portion of it, open Options to pick a microphone and a timer, then click Record. To stop, click the stop button in the menu bar. According to Apple's guide, the recording is saved as a .mov file and you can trim it from the floating thumbnail. It is simple and free, but it does not add zooms, captions or camera layouts.
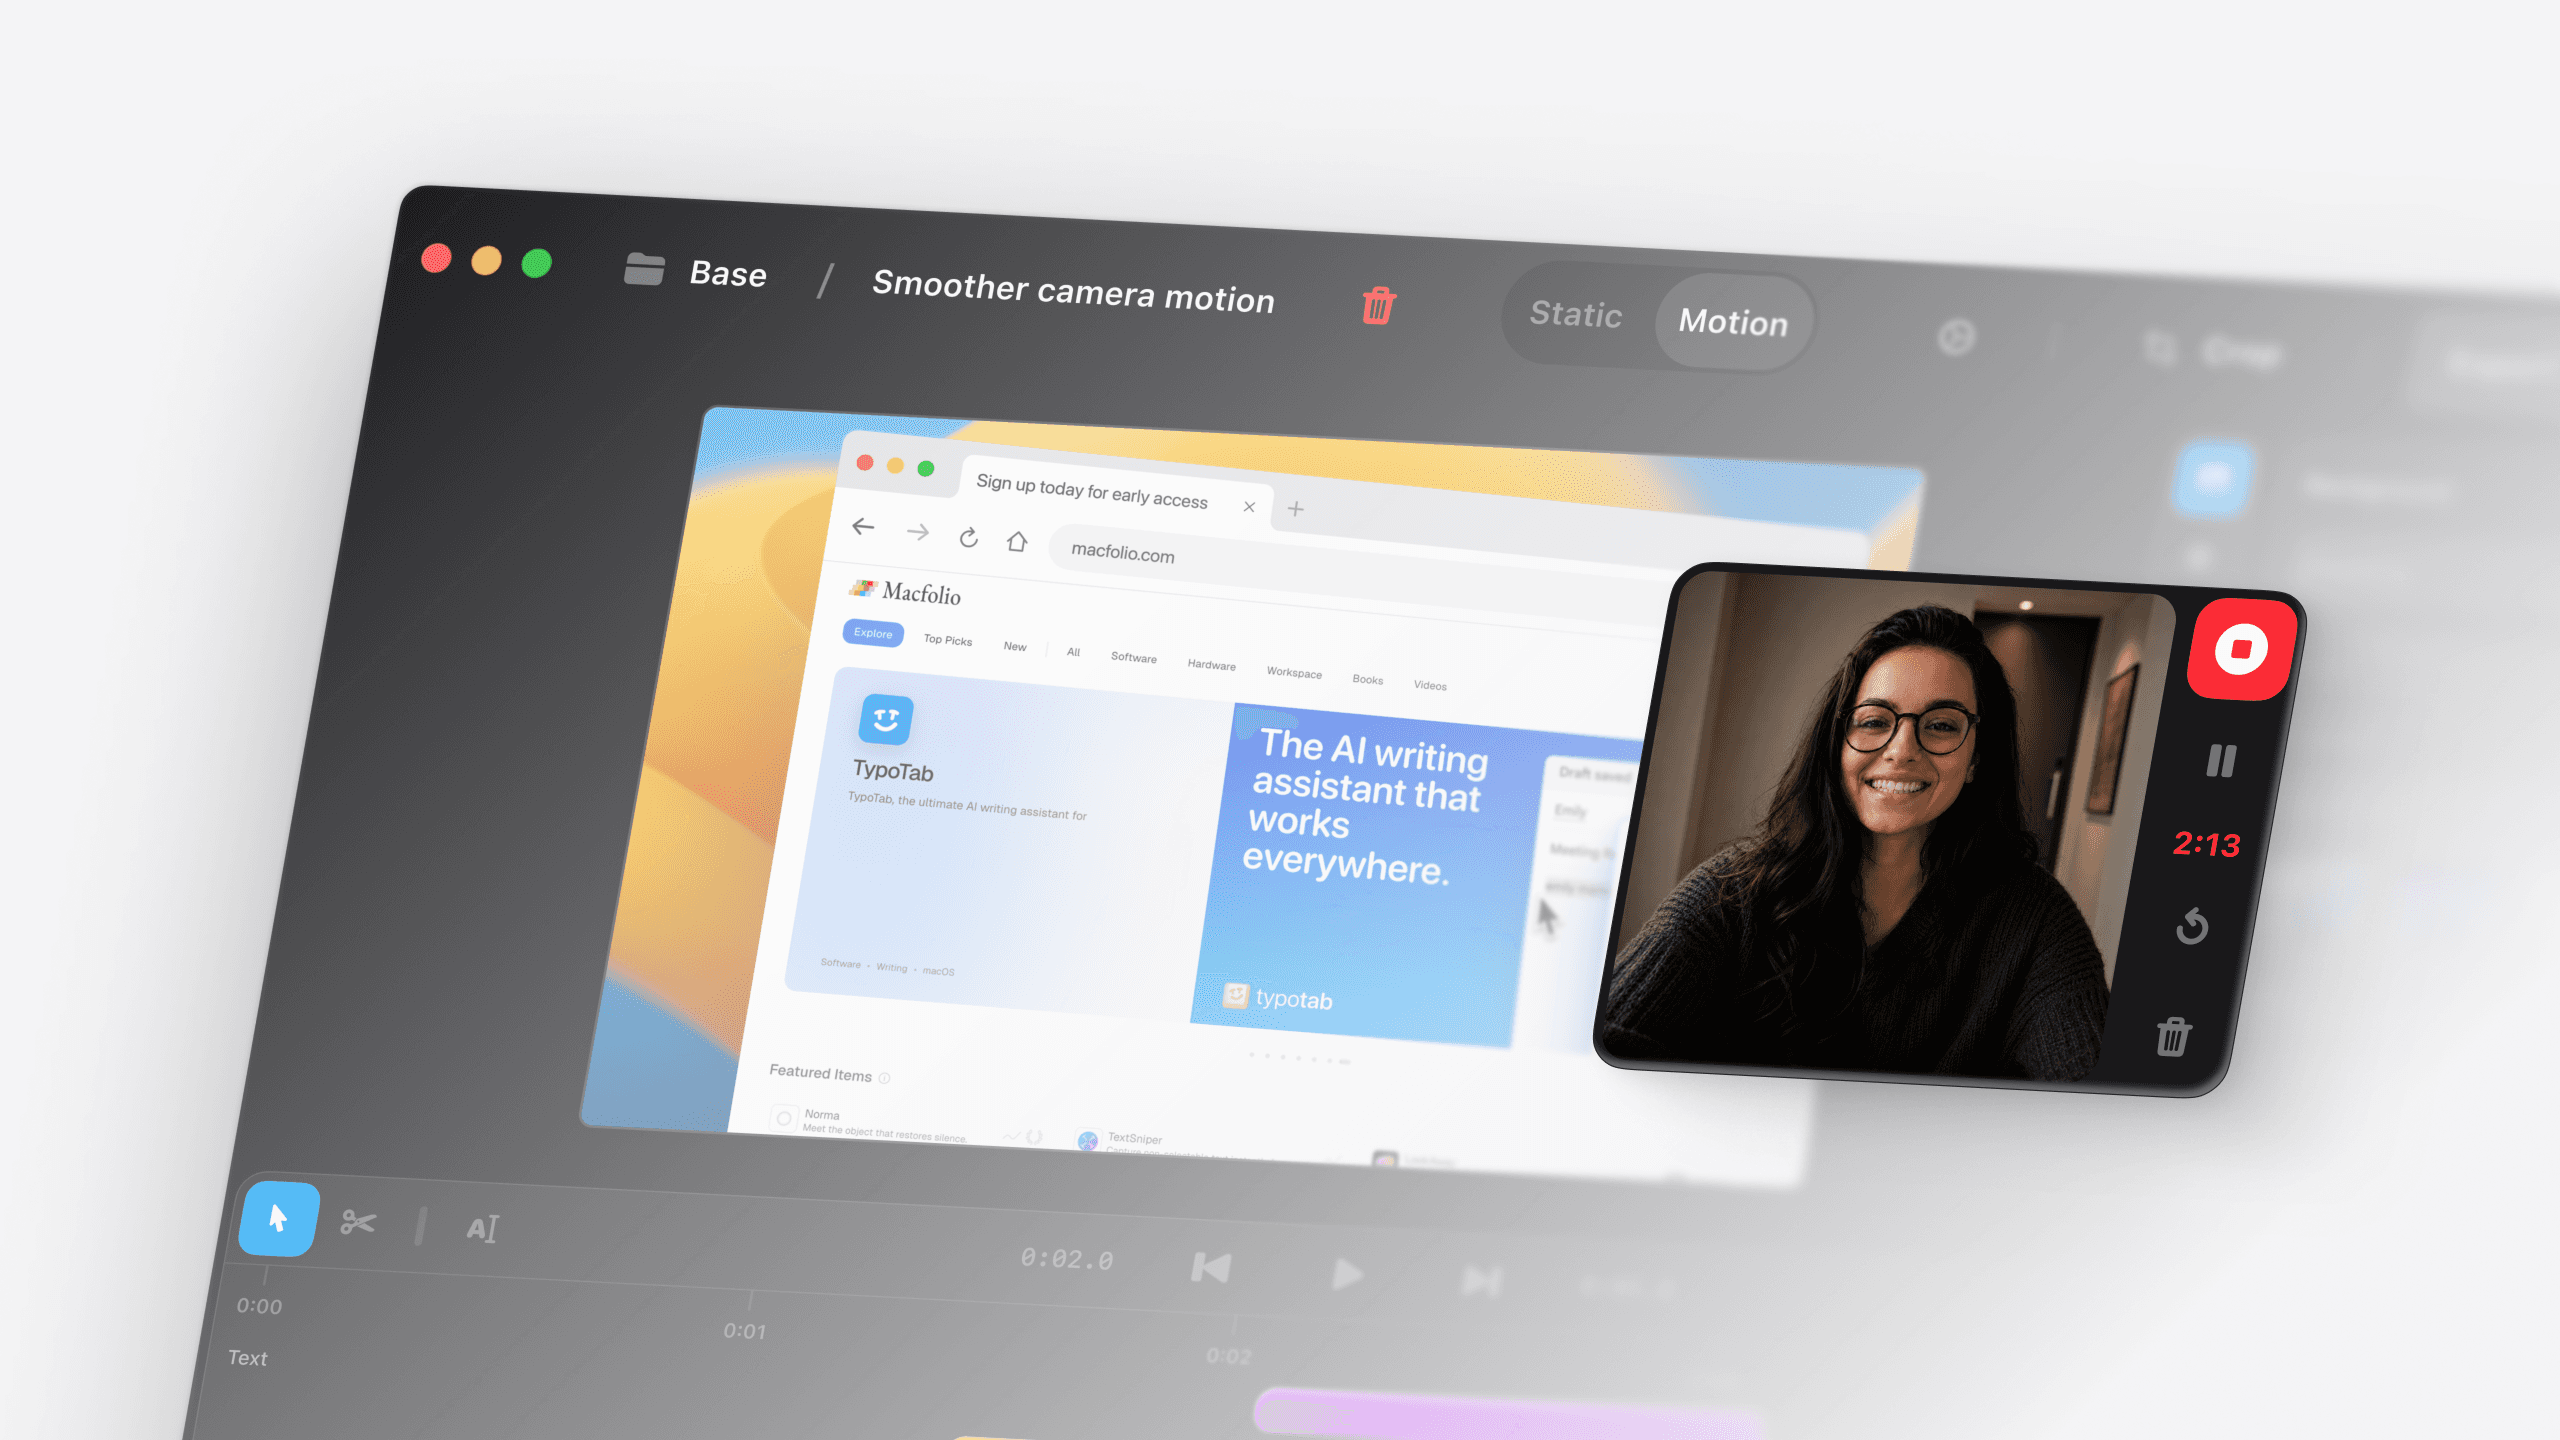
Shotbase. Shotbase records your screen and then follows the action, so automatic zooms bring important moments closer. It can also record your camera and microphone together with the screen. Everything lands in one library next to your screenshots, so you can find the recording later.
Whichever you use, a few habits help:
Record in one calm take and keep going if you stumble. You can cut mistakes afterward.
Move the pointer on purpose. Slow, deliberate movement is easier to follow and gives smoother automatic zooms.
Pause for a second after each click so viewers can see the result.
Say what you are about to do, then do it. "Now I will create a share link" works better than silence.
Step 4: edit the demo for attention
Editing is where a screen recording becomes a demo. Here is what to do, in order.
Trim and cut
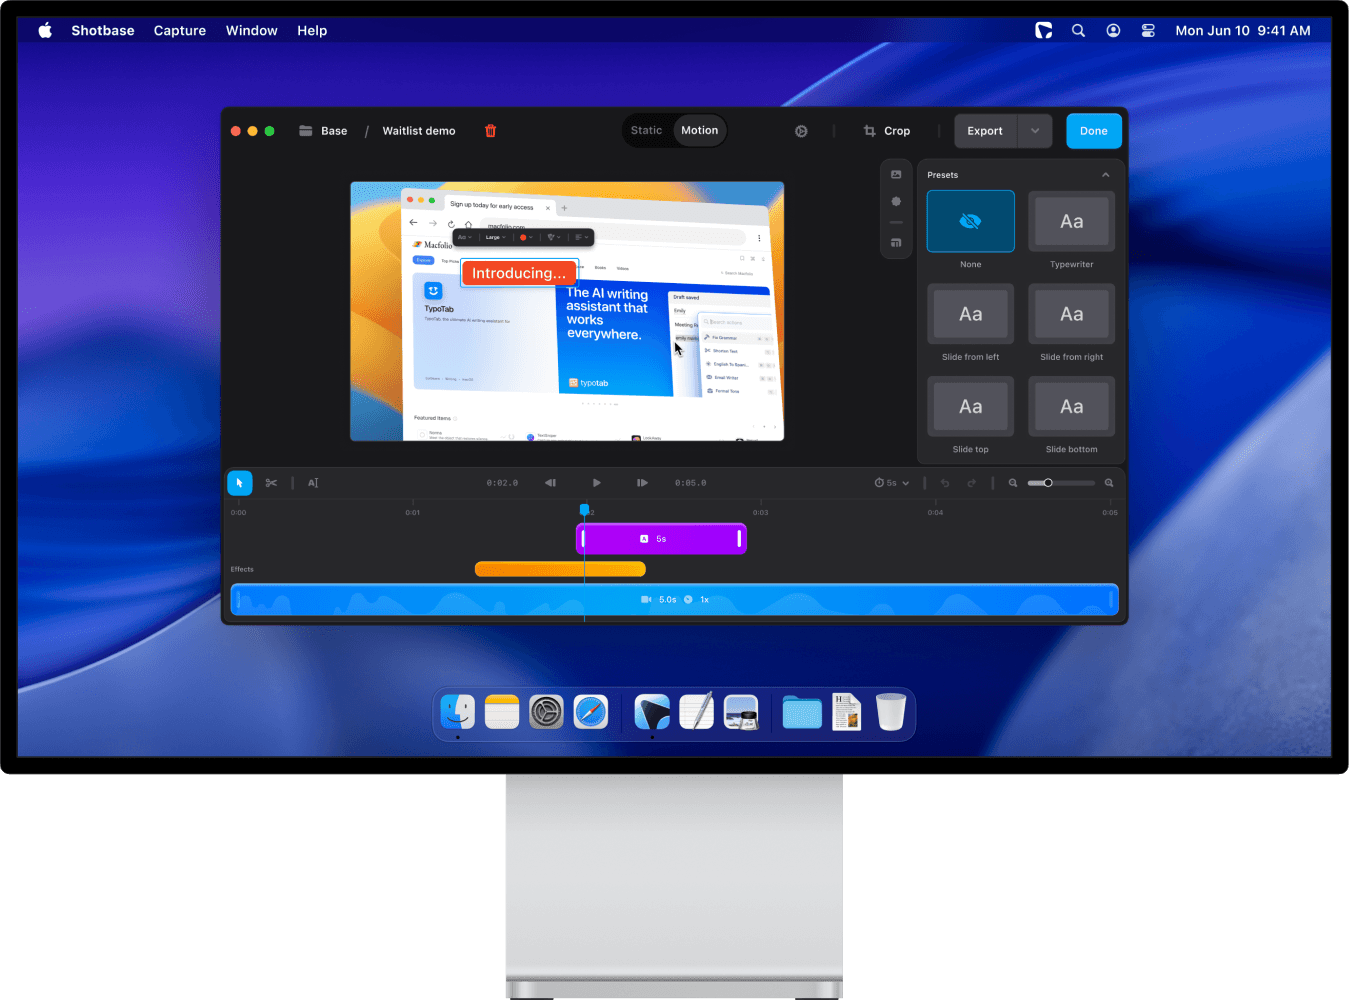
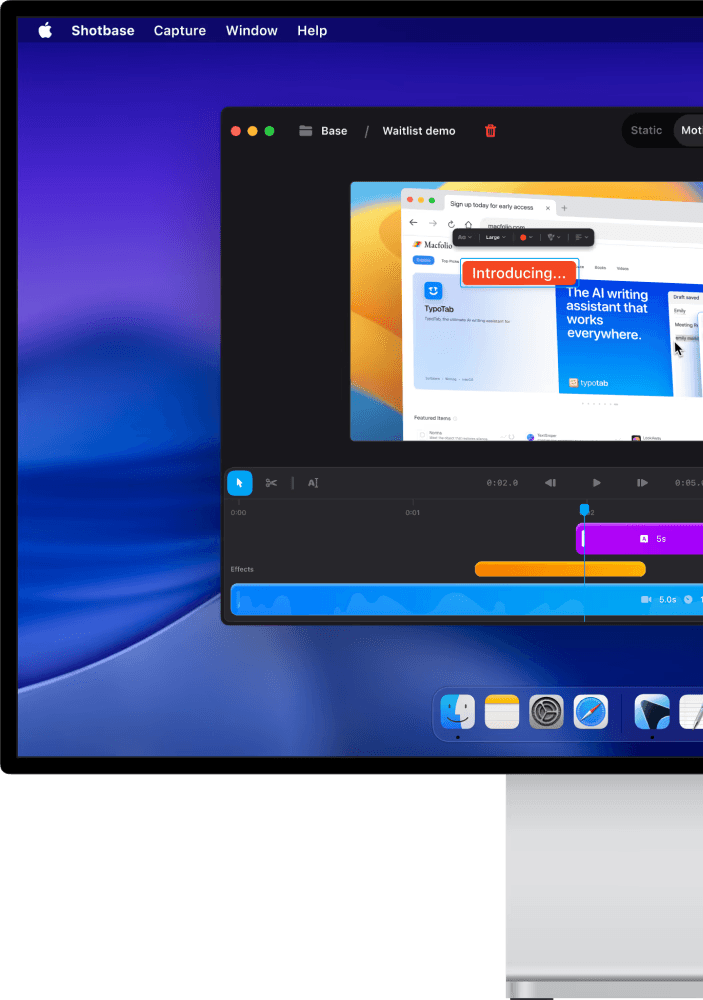
Remove dead air at the start and end, and cut anything that does not serve the story. In Shotbase, the editor has a timeline with a cut tool (the scissors icon), so you can remove sections you do not need.
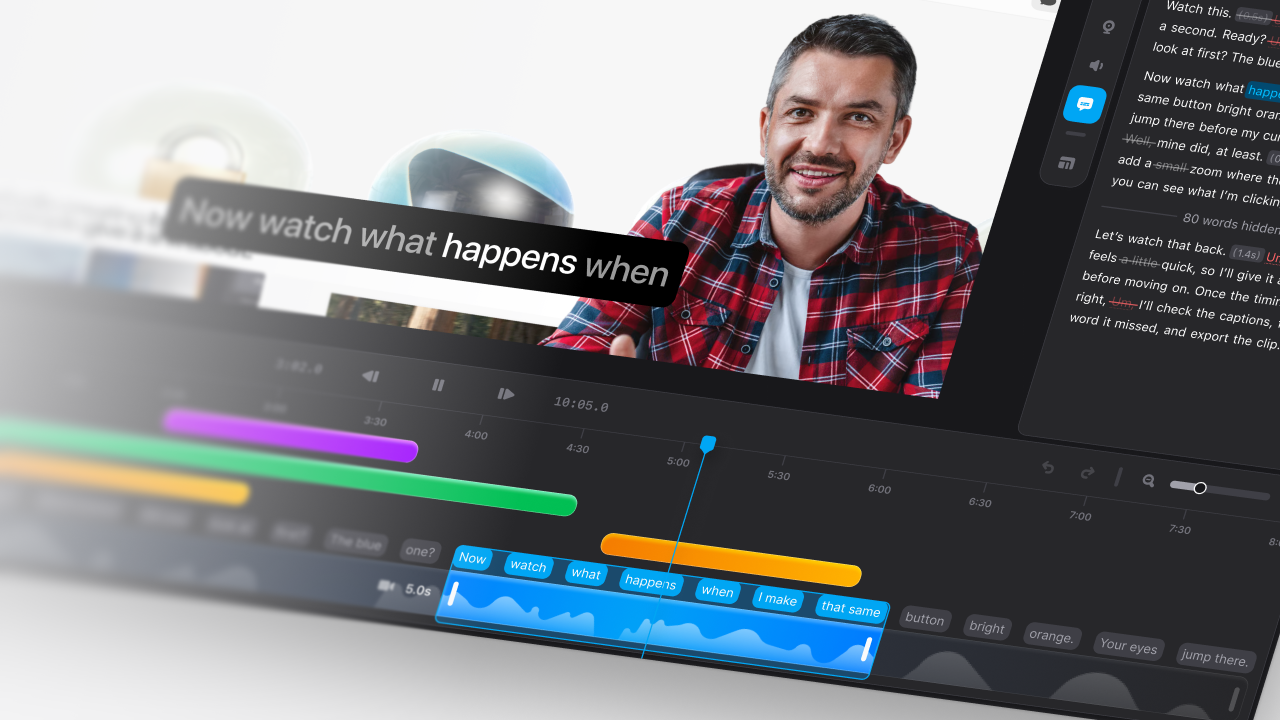
If you speak during the recording, Shotbase can also generate an on-device transcript. You can click a word to jump to that moment, delete selected words to cut the matching footage, remove filler words, and shorten or remove pauses. Undo brings the footage back. Transcription and transcript editing require macOS 26.
Add zooms
Small text is the biggest problem in screen demos. Automatic zooms in Shotbase bring important moments closer, and they appear on the timeline where you can review them. For a deeper look, see our guide on how to add zoom effects to a screen recording on Mac, and our comparison of the best screen recorders with automatic zoom.
Polish the frame
Shotbase's editor adds backgrounds, shadows and frames, plus 3D transforms and text effects. Use them lightly. A clean background and one or two text callouts for key moments usually look better than every effect at once.
Use camera layouts
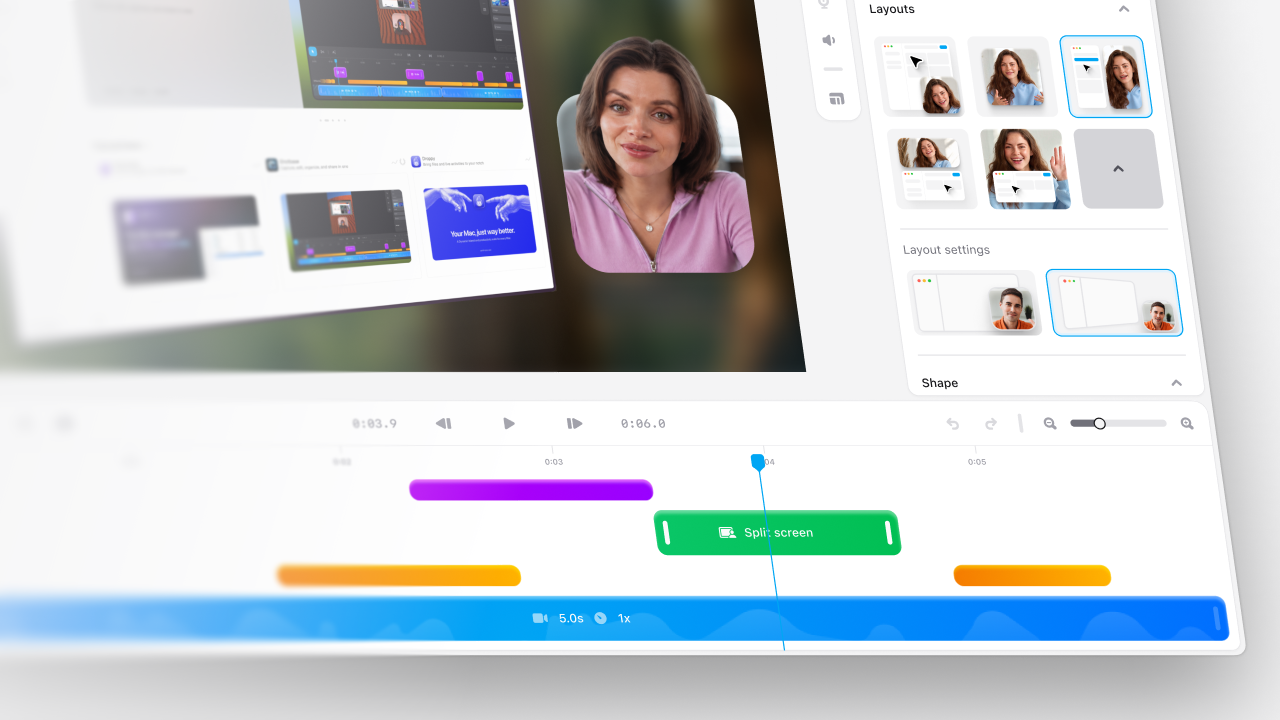
If you recorded your camera, you can change the layout during specific moments of the video by adding Layout segments to the timeline. The available layouts are Fullscreen camera, Split screen, Short-form and Presenter, alongside the default layout. A common pattern is a fullscreen camera for the intro, the default layout for the demo and a presenter layout for the close.
You can style the camera with a cutout, borders and backgrounds. Shotbase can also hide the camera automatically during microphone silence, with an adjustable minimum silence duration.
Add captions
Many people watch videos with the sound off. Captions fix that. In Shotbase you can add captions to recordings with animated templates, fonts you have installed, word highlights, colors, backgrounds, outlines and shadows, and you can save your own caption styles as presets. You can also export the transcript as plain text, SRT or VTT.
Clean up the audio
Bad audio sinks a demo faster than bad video. Shotbase lets you adjust the microphone, system audio and background audio separately, with volume and mute controls and a master volume. Microphone presets include Standard, Loud, Warm, Noise reduction and Podcast, or you can choose Off to keep the original sound. You can also import background audio and loop it through the video. Noise reduction and Podcast need Apple silicon, macOS 15 or later and a one time local model download.
Step 5: export and share
Export the version that fits where the demo will live. A wide video suits a landing page or docs, and a vertical one suits social feeds. Shotbase also exports GIFs, which are handy for short clips in help articles.
For feedback and sharing, a link beats a large file. Shotbase creates a link to any finished recording from inside the app. People open it in a browser, without the app and without an account if they only want to watch and comment.
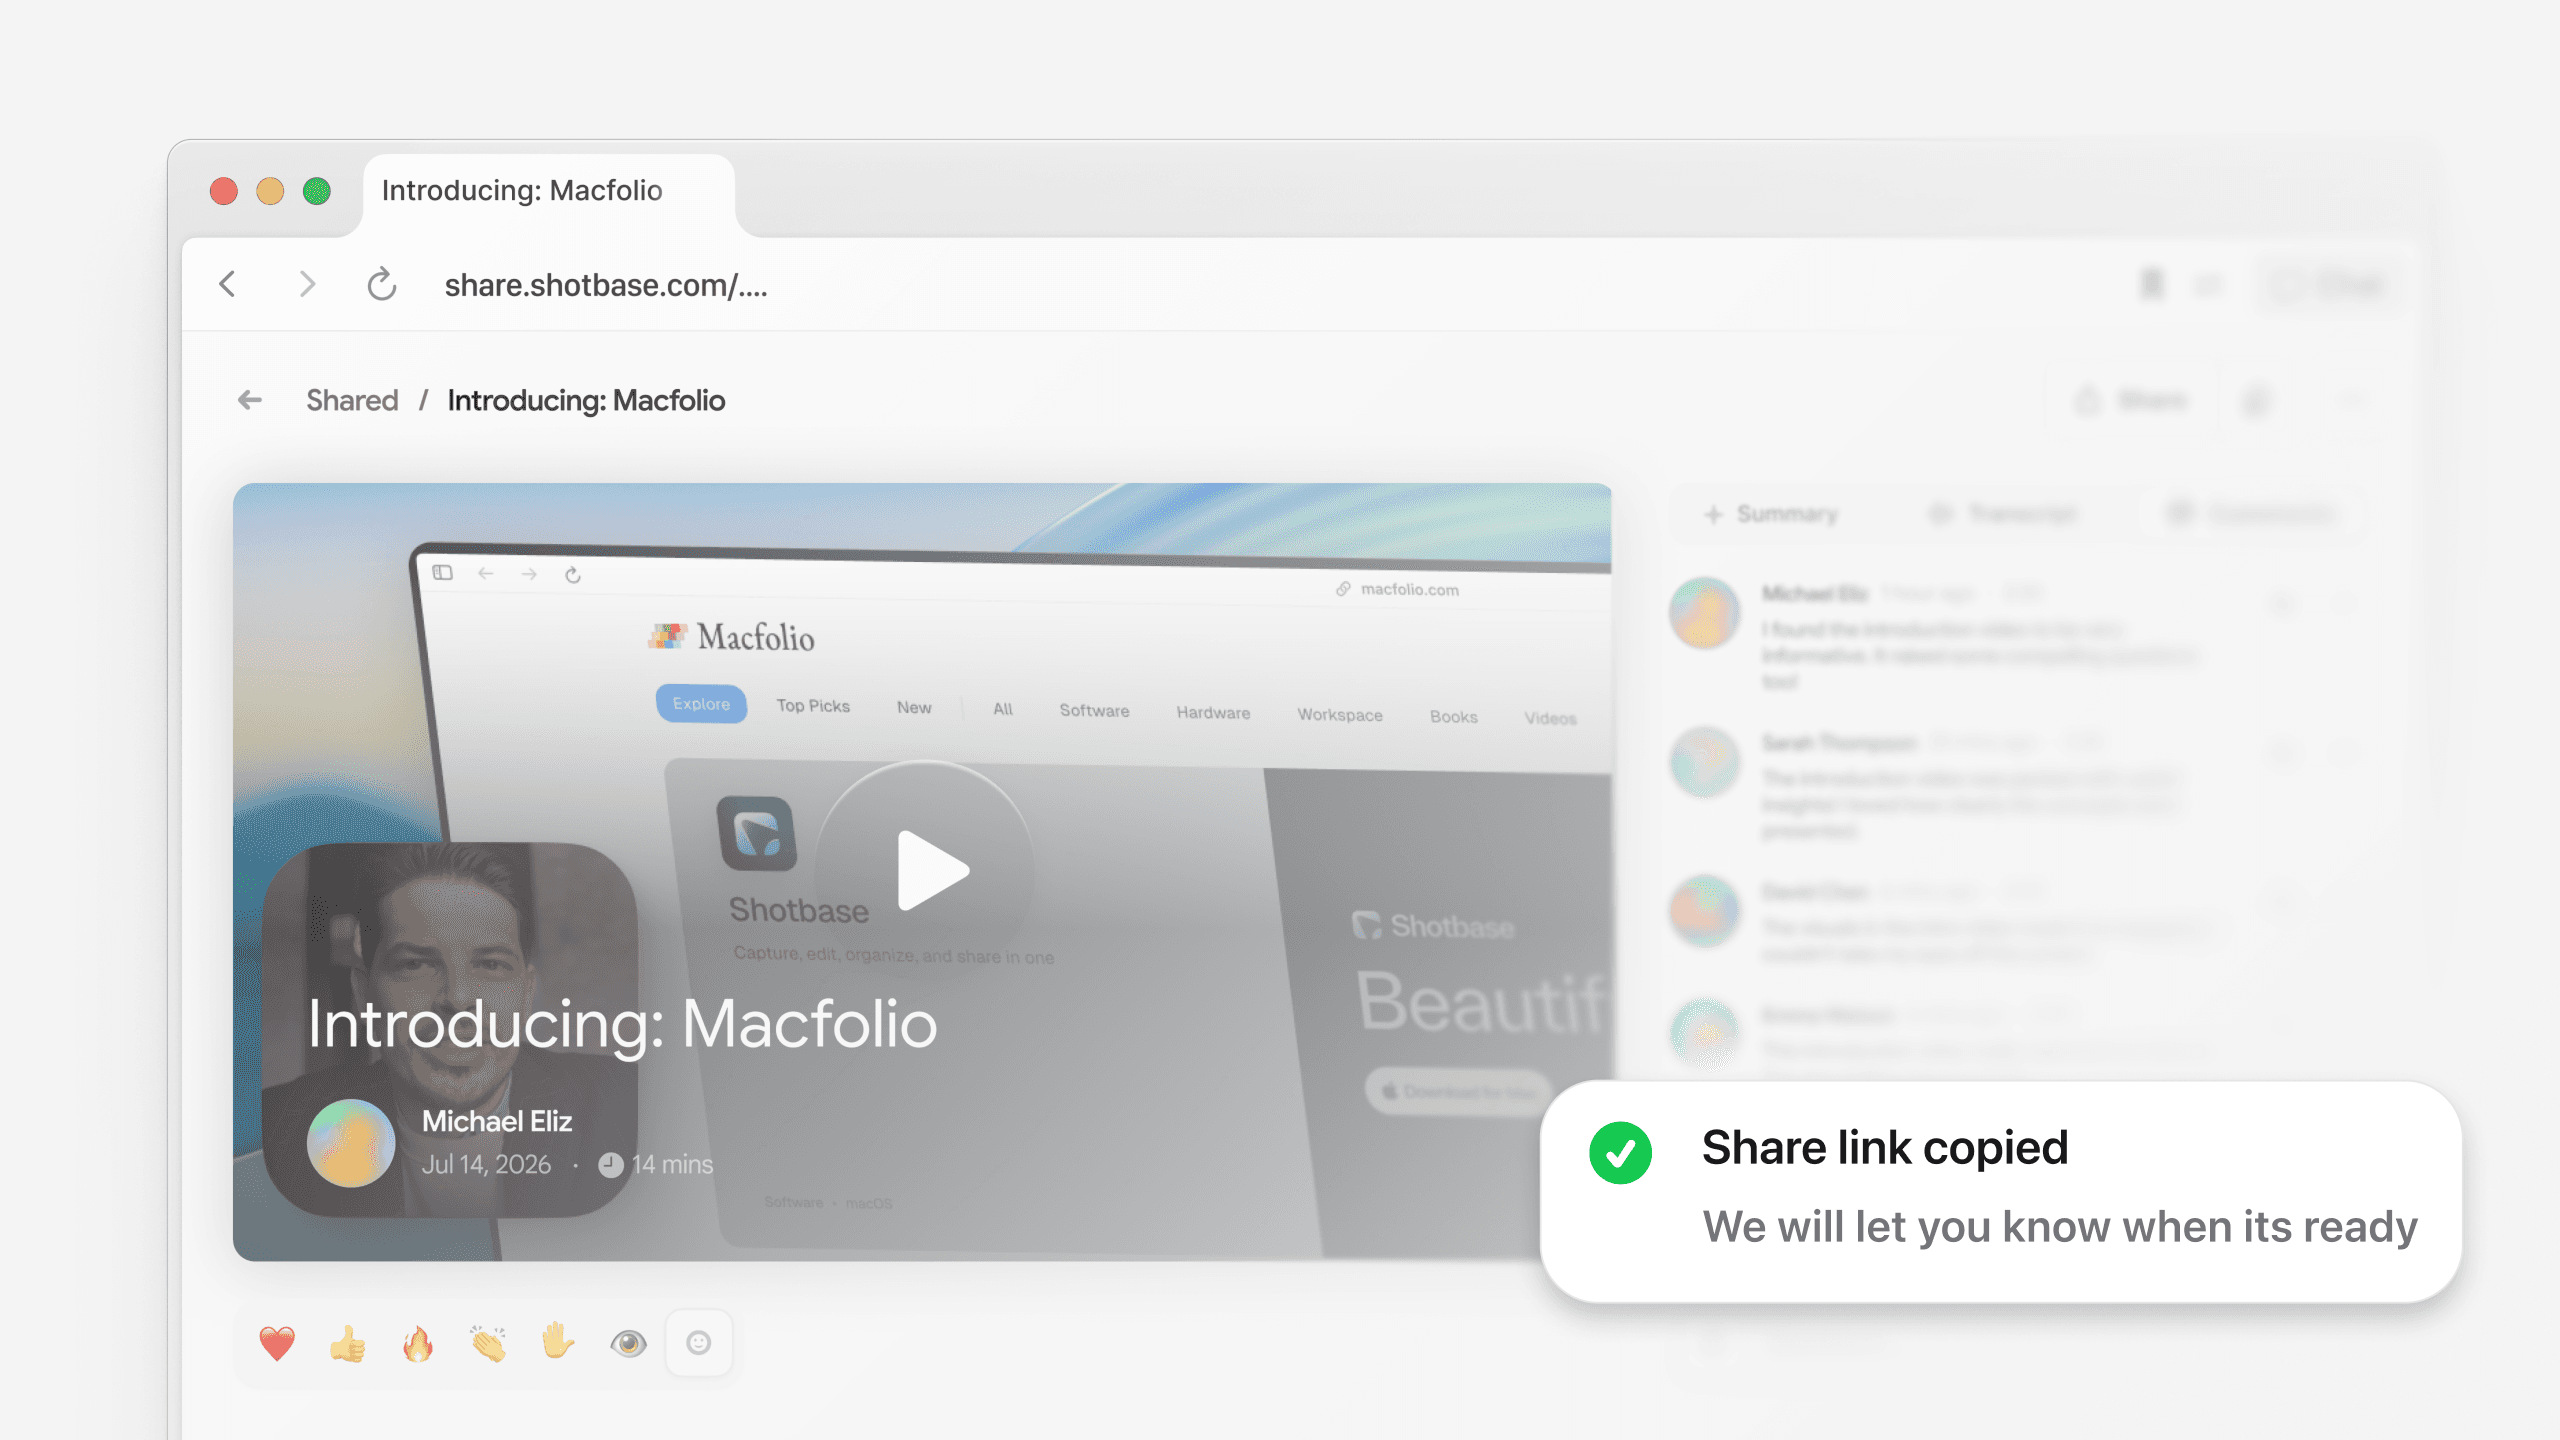
Viewers can leave comments, pin video feedback to a timestamp or a time range, reply to others and react with emoji. Shared recordings automatically include a transcript when one is available.
A quick checklist before you share
Does the video open with the problem or result, not a long introduction?
Is every on screen detail readable at phone size?
Did you cut dead air, mistakes and anything private?
Are the zooms helping, and did you remove any that do not?
Are captions on, and is the audio clear?
Does it end with one clear next step?
There is no single correct length for a demo. Make it as short as the story allows, and make a separate, longer video for anything that needs a deeper walkthrough.
Which tools can make a product demo video on Mac?
| Need | Built-in Screenshot toolbar | Shotbase |
|---|---|---|
| Record the screen | Yes, with Shift + Command + 5 | Yes |
| Record with a microphone | Yes, choose one in Options | Yes, with separate controls for mic, system audio and background audio |
| Trim the recording | Yes, from the floating thumbnail | Yes, on the editor timeline |
| Automatic zooms | No | Yes |
| Camera layouts | No | Yes, four layouts plus the default |
| Captions and transcript editing | No | Yes (transcripts need macOS 26) |
| Share link with comments | No | Yes |
Frequently asked questions
How do I make a product demo video on a Mac?
Plan a short story, prepare a clean screen, record with Shift + Command + 5 or an app like Shotbase, edit out mistakes, add zooms and captions, then export or share a link.
What is the best app to make a product demo video on Mac?
It depends on how much editing you want. The built-in tool is free and fine for plain recordings. Shotbase is built for demos: automatic zooms, camera layouts, captions, audio presets and share links in one app. See our comparison of recorders with automatic zoom for the other options.
How long should a product demo video be?
There is no fixed rule. Keep it as short as the story allows, focus on one job, and make a separate video for each extra topic.
Do I need a webcam?
No. Many demos are screen and voice only. A camera is useful for a personal intro, and Shotbase layouts let you show it only at certain moments.
Is Shotbase free to try?
Yes, there is a 7-day free trial with no card required. After the trial you can still capture, view, edit and organize, but you need Shotbase Pro to export new work or create share links. Pro is $13 a month billed yearly or $25 month to month.
Does Shotbase upload my demo automatically?
No. Screenshots, recordings and project files stay on your Mac by default. Shotbase only uploads a capture when you choose to create a share link or use another cloud feature.